Hello everybody, it’s Drew, welcome to our recipe page. Today, I’m gonna show you how to prepare a distinctive dish, make your own red chili and garlic oil. One of my favorites. For mine, I’m gonna make it a bit tasty. This is gonna smell and look delicious.
Make Your Own Red Chili and Garlic Oil is one of the most popular of recent trending meals on earth. It is simple, it is fast, it tastes yummy. It is appreciated by millions every day. They are fine and they look fantastic. Make Your Own Red Chili and Garlic Oil is something that I have loved my whole life.
Want to know how to make chili oil? Our Chinese chili oil recipe has step-by-step instructions and non-negotiable vs. optional ingredients! This chili oil recipe has become one of the most popular on the blog, and for good reason. It is as much a foundational ingredient for many of our recipes as it is a.
To begin with this recipe, we must first prepare a few ingredients. You can have make your own red chili and garlic oil using 3 ingredients and 9 steps. Here is how you cook it.
The ingredients needed to make Make Your Own Red Chili and Garlic Oil:
- Prepare Olive oil (small bottle)
- Get Red chili peppers
- Prepare Garlic
Making chili oil is easy and it takes only a few simple ingredients. I can remember chili oil all the way back to Other cuisines that enjoy spicy food have their own concoctions of bottled death. For one of our Preparing chili oil. Looks like I'll be making my own garlic oil to cook and use in recipes.
Instructions to make Make Your Own Red Chili and Garlic Oil:
- Cut the garlic lengthwise, remove the core, and slice thinly. Cut off the tops of the chili peppers with scissors, and make a cut in the middle to remove the seeds. Cut them into thin rounds with scissors.
- Pour the olive oil, chili peppers and garlic into a deep frying pan, and heat over low heat.
- Turn off the heat just before the garlic turns golden brown. The residual heat will continue cooking the mixture.
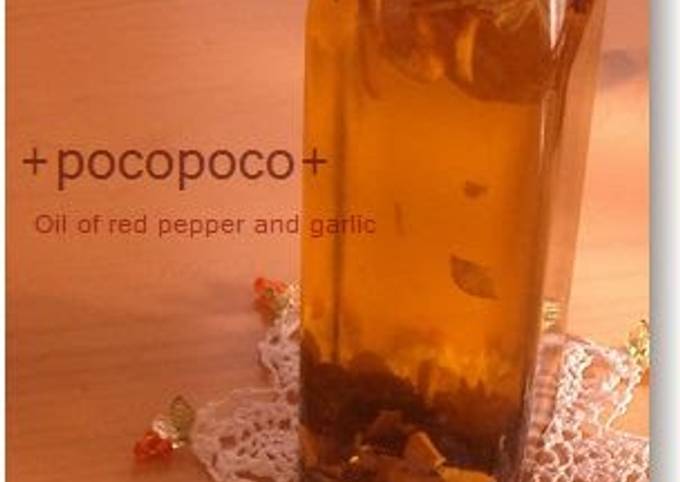
- While the oil is cooling, the garlic will turn dark, as shown in this photo. When it's cooled completely, pour the mixture back into the bottle. It's not so spicy when it's freshly made.
- There are various shapes of olive oil bottles, and the one I bought this time had a plastic cap like this one. I couldn't take this off, and I didn't have a funnel on hand…
- After much agonizing, I cut off a corner of a small plastic bag, put the opened corner into the bottle, and poured in the oil through the plastic bag. The garlic and chili didn't go in easily, so I pushed them into the bottle with a chopstick. It went surprisingly well.
- Apparently, the spiciness will increase starting the next day, and the oil will become spicier and redder as time goes on. I'm not sure how long it can be stored, but K-mama said she made hers a while ago.
- The chili peppers I used were about 10 cm long. They are probably 2-3 times longer than average-sized chili peppers. I used 2 of those, making the oil mildly spicy.
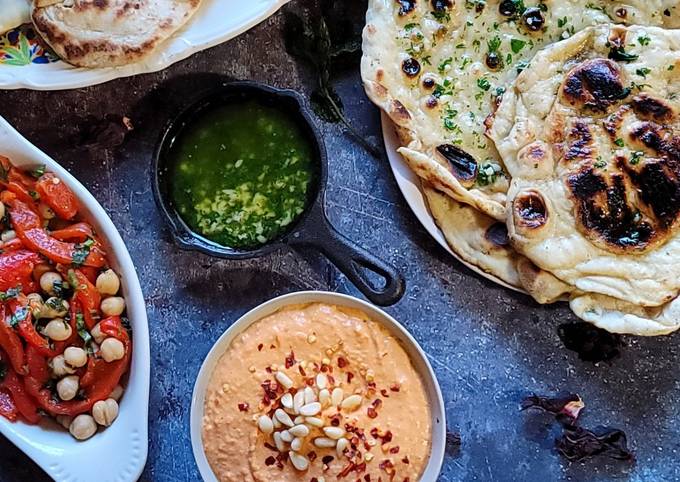
- I drizzled this oil over a salad, and it was super delicious. It's great for freshly boiled pasta. It was also delicious with a deep-fried dish.
For one of our Preparing chili oil. Looks like I'll be making my own garlic oil to cook and use in recipes. Thank you, wikiHow."." more. "How to make CHILI GARLIC OIL (Sa Tế Ớt Tỏi)? When garlic and shallot are somewhat caramelized and turn slightly golden, lower the heat and add in minced chilies. Making chili oil at home might seem like a daunting task at first, but once you understand the key steps, it only takes five minutes to make the For many Chinese people chili oil is as important as ketchup is to American people.
So that’s going to wrap it up with this exceptional food make your own red chili and garlic oil recipe. Thank you very much for your time. I am sure that you will make this at home. There’s gonna be more interesting food in home recipes coming up. Don’t forget to bookmark this page in your browser, and share it to your loved ones, friends and colleague. Thank you for reading. Go on get cooking!